

If you’re looking to improve your home or office network, adding an access point to your modem can help extend your Wi-Fi coverage. Whether you want to eliminate dead zones or expand your network range, knowing how to install an access point to a modem is essential. This article will guide you through the installation process and offer tips for troubleshooting common issues.
What is an Access Point, and Why Is It Needed?
Before diving into the installation process, it’s important to understand what an access point is and why it can enhance your network. An access point (AP) is a device that allows wireless devices to connect to a wired network. It acts as an extension of your modem’s wireless capabilities, improving Wi-Fi coverage throughout your home or office.
If you’re dealing with weak signals in certain areas, learning how to install an access point to a modem will be a game-changer for your network. It will increase your Wi-Fi range and help ensure a more stable connection in far-reaching corners of your space.
Preparing for Installation
Before beginning the setup, make sure you have the following equipment:
Access Point: This is the device that will extend your Wi-Fi network.
Ethernet Cable: You’ll need this to connect your modem to the access point.
Power Source: Ensure that the access point has access to a power outlet.
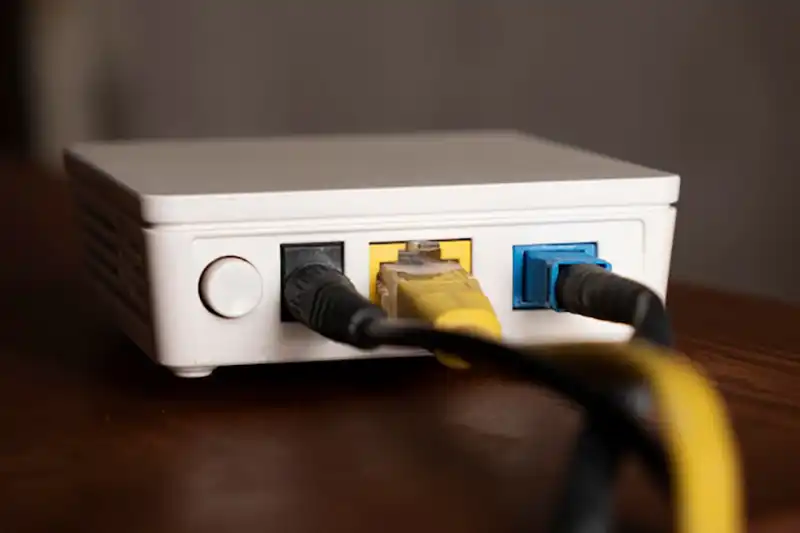
Modem: Your modem should have an available Ethernet port to make the connection.
Once you have all the necessary equipment, you are ready to move forward with the installation process.
Step-by-Step Guide: How to Install an Access Point to a Modem
Connect the Access Point to the Modem
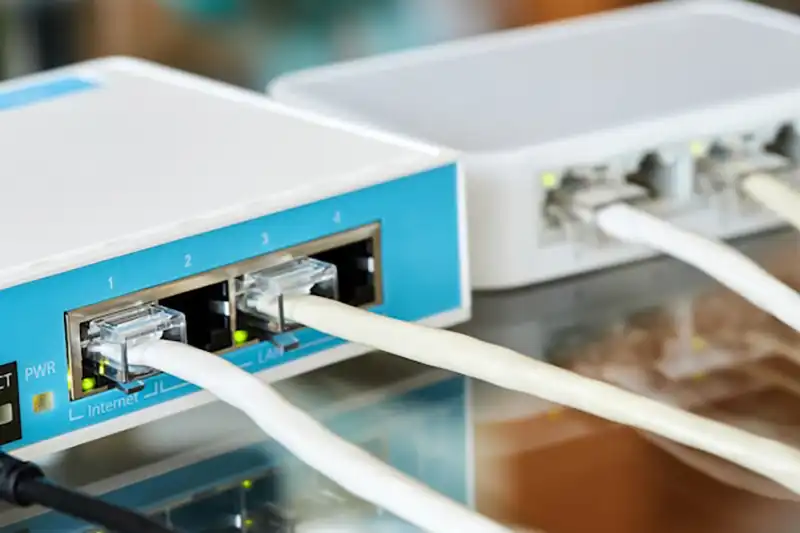
The first step in how to install an access point to a modem is to connect the access point to your modem using an Ethernet cable. Plug one end of the cable into a free Ethernet port on the modem and the other end into the access point.
Power On the Access Point
After physically connecting the access point to the modem, plug the device into a power outlet. Wait a moment for it to power on. Most access points have an LED indicator that will show when it’s ready for configuration.
Access the Setup Page
Using a computer or smartphone, connect to the access point’s default Wi-Fi network. You can find this information in the user manual or on a sticker on the device. Then, open a web browser and enter the default IP address listed in the manual to access the setup page.
Configure the Access Point
Once on the configuration page, you can change settings such as the Wi-Fi name (SSID) and password. Be sure to enable WPA2 encryption for secure Wi-Fi access. You can also adjust other settings such as the network channel if needed.
Test the Connection
After configuring the access point, test the connection by connecting your device (laptop, smartphone, etc.) to the Wi-Fi network. If the signal is strong and stable, the installation was successful.
Troubleshooting Common Issues
Sometimes, the installation process doesn’t go as smoothly as expected. Here are a few common issues and solutions to help you troubleshoot when learning how to install an access point to a modem:
No Internet Connection: Ensure that the Ethernet cable is securely connected to both the modem and the access point. Also, check that your modem has an active internet connection.
Weak Signal: If the signal is weak, try moving the access point to a more central location to improve coverage.
Unable to Access Setup Page: If you can’t access the setup page, make sure your device is connected to the correct Wi-Fi network. You might also need to check that you’re using the correct IP address.
Securing Your Access Point
After completing the installation, it’s crucial to secure your access point. Here’s how to install an access point to a modem securely:
Change Default Passwords: Most access points come with a default username and password. Be sure to change these during the setup to prevent unauthorized access.
Enable WPA2 Encryption: This encryption standard is essential for protecting your Wi-Fi network from outside threats. Always ensure that WPA2 is enabled for better security.
Disable WPS: Wi-Fi Protected Setup (WPS) is a feature some access points have, but it’s known to have security vulnerabilities. It’s a good idea to disable this feature in your access point settings.
Frequently Asked Questions (FAQ)
Can I install multiple access points to one modem?
Yes, you can. Simply connect each access point to the modem via Ethernet cables and configure them separately. This will help you extend your network coverage even further.
What’s the difference between a router and an access point?
A router distributes the internet connection to multiple devices, while an access point expands the range of your existing Wi-Fi network by creating a new Wi-Fi hotspot.
Do I need any additional equipment for this setup?
No, you only need an access point, Ethernet cable, and a power source. As long as your modem has a free Ethernet port, you can proceed with the installation.
Can I install an access point wirelessly?
While some access points support wireless setup, it’s generally more reliable to connect via Ethernet for the best performance. Wired connections help ensure a more stable network.
How long does it take to install an access point?
The installation process typically takes around 30 minutes, depending on how quickly you can configure the settings.
Conclusion
Now that you know how to install an access point to a modem, you can easily extend your network’s coverage and improve your Wi-Fi experience. By following the simple steps outlined above, you’ll have your access point set up and secured in no time. Remember to keep your access point secure and troubleshoot common issues for optimal performance.
For more tips and guides on networking, visit Wizland for expert advice and the latest networking products!